Creating and Using Allegro 5 Static Libraries with XCode 5
Allegro is a cross-platform, open-source, game-programming library, primarily for C and C++ developers. Version 5 represents a rethinking of the entire library and the documentation has suffered because developers write code. This post will help you get started with using static linking of Allegro libraries to circumvent distribution problems.
Currently, the Allegro Wiki has instructions to let you
- compile Allegro into Mac OS X Frameworks (follow the “Option 2” version of the instructions); and,
- compile Allegro into dynamic libraries
In both cases, you need to package those libraries with your application to ensure they run on machines that do not have Allegro (and supporting libraries) installed. Static linking, while creating larger executables and slower load times, ensures that the binaries you need travel within the executable.
Build and Install Allegro 5
Here we go.
Install homebrew
We will need to install other libraries to unlock the full potential of Allegro. To do that, I choose to use homebrew and would encourage you to do the same. Just follow the installation steps at link to the homebrew page.
Install cmake
Both Allegro and one of its dependencies uses cmake to configure its build process. Install it with homebrew.
brew install cmake
Install addon dependencies
The Allegro addons, namely audio, type, and archive file content reading require
external libraries to run. brew them onto your machine.
brew install flac
brew install libvorbis
brew install physfs
This will also install libogg.
Install the non-brewed dependency: dumb
No, “dumb” is the name of the library, not the fact that we can’t brew it.
git clone https://github.com/kode54/dumb.git
cd dumb/dumb/cmake
mkdir build
cd build
cmake -DBUILD_SHARED_LIBS=0 ..
make
make install # You may have to "sudo make install" this
Build Allegro
Get sources, checkout the stable branch, and build.
git clone git://git.code.sf.net/p/alleg/allegro
cd allegro
git checkout 5.0
mkdir build
cd build
cmake -DSHARED=0 ..
make
make install # You may have to "sudo make install" this
Sanitizing a Cocoa application project for use with Allegro
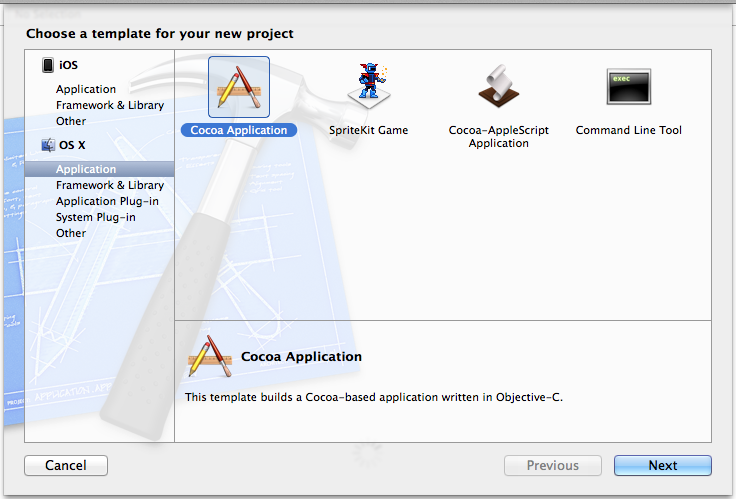
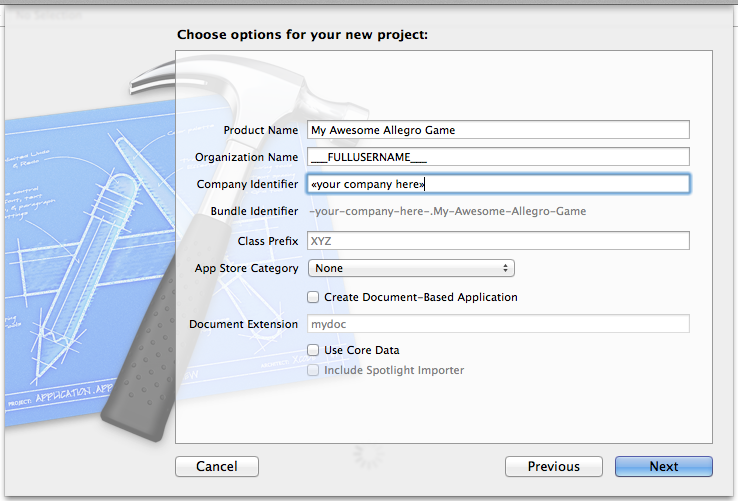
Create a new Cocoa application.


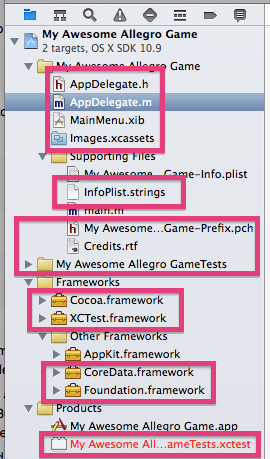
Now, get rid of the project-generated files and framework references.

You can’t “delete” that xctest target in the file explorer. Instead, you need
to find the build targets list and delete it from there.
Now, rename main.m to main.cpp and replace its content with the following.
1 |
|
You need to fix the following build settings to get things straight with the compiler. Select the project at the top of the explorer on the left. Then, choose the “Build Settings” tab in the main content window. Make these modifications to the settings.
- Set “Prefix Header” to an empty string
With that change, you can successfully build and run the application.
Using the static Allegro libraries
Change the content of main.cpp to the following content.
1 |
|
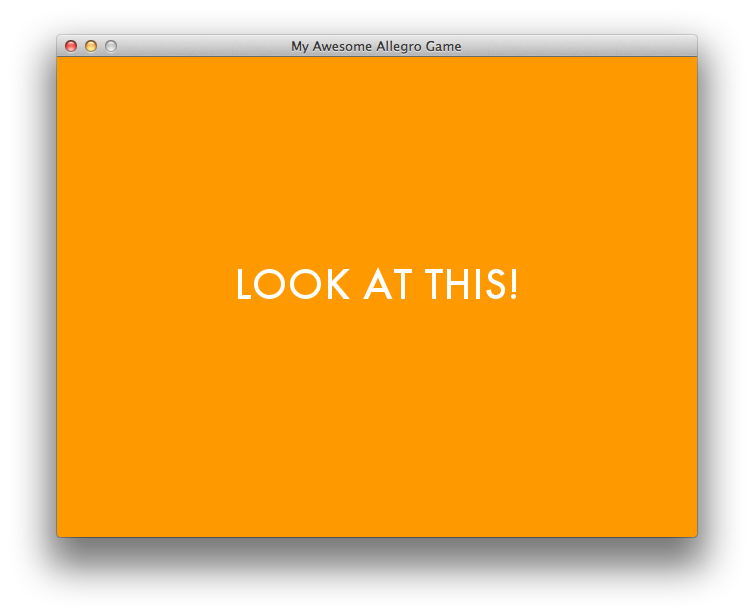
That will give us a target to indicate that we have a running application.
Add references to the necessary static libraries and frameworks
On the “Build Phases” tab of the project settings, expand the “Link Binary With
Libraries” section. Open a Finder window to /usr/local/lib. Select the
following files from that directory and drag them to “Add frameworks & libraries
here” section in the “Link Binary With Libraries” section.
- liballegro_acodec-static.a
- liballegro_audio-static.a
- liballegro_color-static.a
- liballegro_dialog-static.a
- liballegro_font-static.a
- liballegro_image-static.a
- liballegro_main-static.a
- liballegro_memfile-static.a
- liballegro_physfs-static.a
- liballegro_primitives-static.a
- liballegro_ttf-static.a
- liballegro-static.a
- libdumb.a
- libFLAC.a
- libogg.a
- libphysfs.a
- libvorbis.a
- libvorbisfile.a
Those are all of the static libraries that come with Allegro. You don’t need all of them for this project; however, you now have a reference for the needed list.
Now, click the “+” button beneath the big list of static libraries that you have and select the following Frameworks to include.
- ApplicationServices.framework
- AppKit.framework
- AudioToolbox.framework
- CoreFoundation.framework
- IOKit.framework
- OpenAL.framework
- OpenGL.framework
Those seven frameworks represent the list of almost all of the OS X-supplied binaries. We need just one more.
Click the “+” button one more time. In the modal dialog, click the “Add
Other…” button. When you get the file chooser, type “/“ and you should get a
little popup that reads “Go to the folder:”. In that box, type
/usr/X11/lib and, from there, choose libfreetype.6.dylib.
Modify the build settings to look for the static libraries
Now, we need to add the paths for XCode to find the files that we need. Go back to the “Build Settings” tab for the project and change the value of the following settings.
- Add
/usr/local/includeto the Header Search Paths setting - Add
/usr/local/libto the Library Search Paths setting, if it does not exist
Modify the Info.plist to get rid of the nib reference
Select the “My Awesome Allegro Game-Info.plist” in the project explorer. Delete the key-value pair with the key Main nib file base name.
Run! Profit!

You can get the code from my GitHub repository over at My Awesome Allegro Game.